 How-to
8 Steps to Clean Baseboards and Corners Like a Pro
Last Updated: November 15, 2026
Quick Summary
To clean baseboards and corners, first vacuum or dry-dust loose debris, then wipe with a microfiber cloth dampened with mild dish soap and water, and finish with a dry cloth. Spray the cloth, not the wall, and dry every seam you wet to prevent paint damage.
- Gather at least three microfiber cloths plus cotton swabs, an old toothbrush, and a wooden chopstick before starting.
- Test every cleaner on a hidden spot first, since a finish that looks fine wet can turn chalky once dry.
- Wrap a microfiber cloth around a broom handle and secure it with a rubber band to clean without bending.
- Work corners dry first, then damp, then dry again, pushing dirt out of the seam rather than into it.
- Clean baseboards before moving out in this order: dust, wash, dry, then check corners with a cotton swab.
Table of Contents
- Start With the Right Baseboard Cleaning Tools
- Step 1: Remove Loose Dust and Debris Before You Wipe
- Step 2: Mix a Gentle Cleaning Solution That Is Safe for Paint
- Step 3: How to Clean Baseboards and Corners With a Microfiber Cloth
- Step 4: How to Clean Baseboards Without Bending
- Step 5: How to Remove Scuff Marks From Baseboards
- Step 6: Reach Inside Corners, Edges, and Tight Spaces
- Step 7: Cleaning Baseboards Before Moving Out
- Frequently Asked Questions
Start With the Right Baseboard Cleaning Tools
Cleaning baseboards and corners is one of the most overlooked jobs in any home, and it's also one of the fastest to get wrong. At Pro Edge Cleaners, we focus on the edges and corners most people skip, and the difference often comes down to having the right tools on hand before you start. Gather everything first, then work through the steps below.
Here's what you need:
- Microfiber cloths (at least three: one for dusting, one damp, one dry)
- A gentle all-purpose cleaner or mild dish soap
- A spray bottle for mixing your solution
- A vacuum with a brush attachment or a soft broom and dustpan
- Cotton swabs, an old toothbrush, and a wooden chopstick for tight spaces
- A flat cleaning tool wrapped in cloth for reaching behind furniture
- A melamine sponge for stubborn scuffs, used sparingly
- A small bucket of clean water
Skip paper towels, which leave lint behind, and skip abrasive pads, which dull paint.
Step 1: Remove Loose Dust and Debris Before You Wipe
Always remove dry dust before you introduce any moisture. Wiping a dusty baseboard just smears dirt into the paint and pushes grit into the corners.
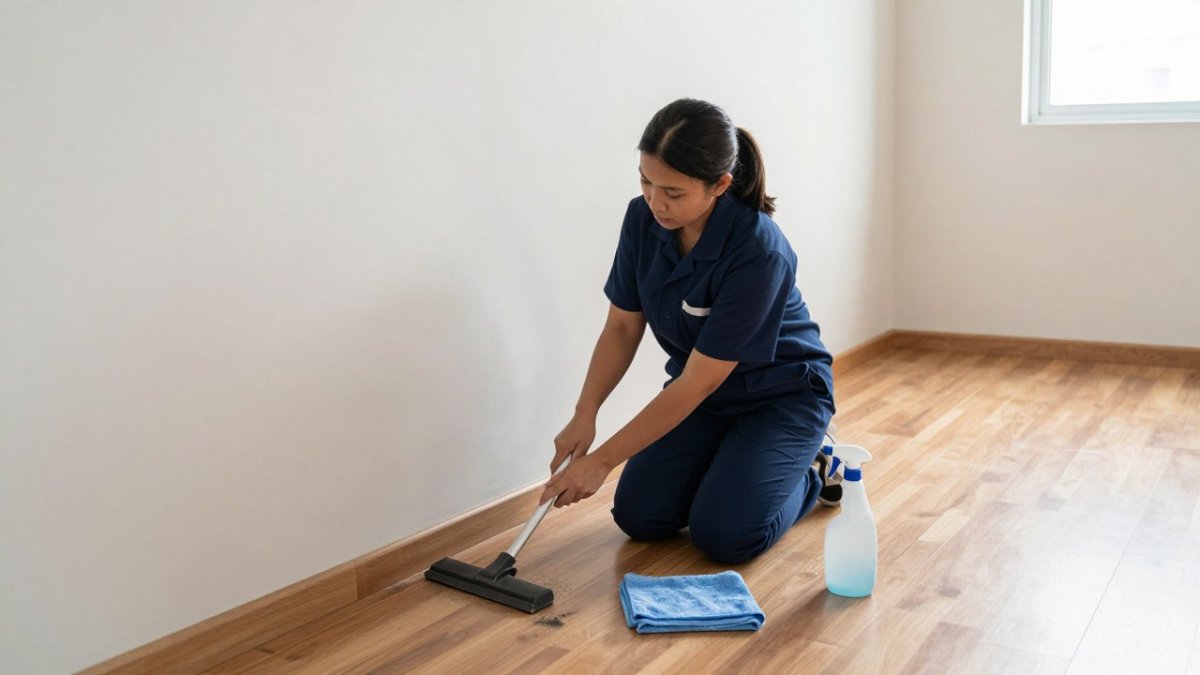
Run a vacuum brush attachment along the top edge of the trim, where dust settles. Work in small sections so you don't lose track. If you don't have a vacuum, a soft broom works well, followed by a dustpan.
Pay attention to the corners and edges first. That's where pet hair and dust collect fastest. Get the dry debris out now and the wet wipe later will take half the time.
Step 2: Mix a Gentle Cleaning Solution That Is Safe for Paint
A mild solution cleans just as well as a harsh one and won't dull the finish, but the right mix depends on what the baseboard is made of. Mix a few drops of mild dish soap into a spray bottle of warm water as your default. That's it.
Test every cleaner on a hidden spot first. Pick the back of a baseboard behind a sofa, or a short run inside a closet, and wait a few minutes after wiping. A finish that looks fine wet can turn chalky, tacky, or cloudy once it dries.
Match the method to the surface:
- Painted wood or MDF: Mild dish soap and water only. Avoid degreasers, bleach, ammonia, and anything labeled abrasive. Painted MDF is especially vulnerable at the bottom edge and in corner seams, where a little moisture swells the board and lifts the paint film.
- Stained or sealed wood: Use the dampest cloth you can wring almost dry, and dry immediately. Standing water raises the grain and leaves a haze in the clear coat. Skip oil soaps unless the finish was originally oiled.
- Vinyl and laminate trim: The most forgiving surface. Mild soap handles most soil, and a melamine sponge is acceptable on scuffs, but rub lightly because overuse dulls the printed pattern.
- Unpainted or raw wood: Do not wet it. Vacuum and dry-dust only; moisture raises grain and leaves water marks that are hard to reverse.
Avoid anything abrasive, bleach-heavy, or labeled for heavy degreasing on painted surfaces. Those strip the sheen and can soften the paint so it scuffs more easily afterward.
Watch out: never mix cleaning products. Combining bleach with an acid-based or ammonia-based cleaner can release dangerous gases, and even two mild products can react on the trim.
If someone in the home has asthma or allergies, choose fragrance-free, plant-based products. Environmentally safe cleaning products are a good choice for this reason, and you can read more on asthma-safe cleaning products that reduce triggers. For a deeper look at greener options, see how to embrace a greener clean.
Step 3: How to Clean Baseboards and Corners With a Microfiber Cloth
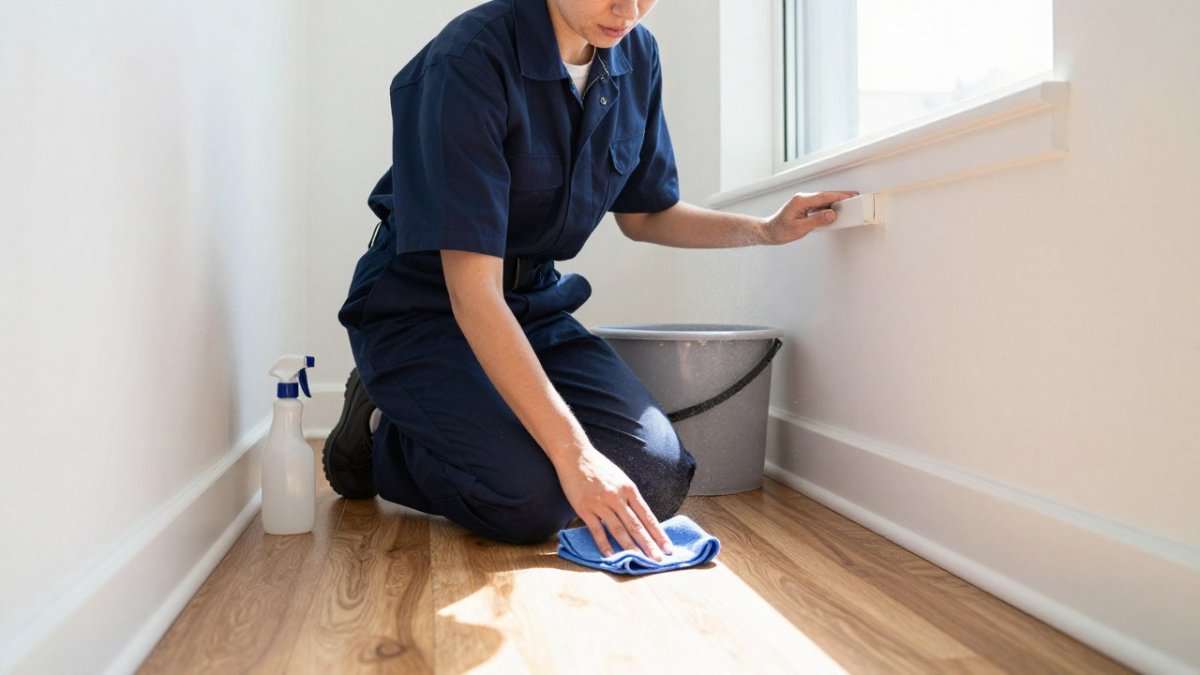
Spray your solution onto the cloth, not the wall. This keeps moisture out of the seams and stops drips from running down the paint.
Wipe along the baseboard in small sections, using gentle pressure. Follow with a second damp cloth to lift any soap residue, then a dry cloth to finish. Drying matters: trapped moisture dulls paint over time.
Work top to bottom on each section. Wipe the flat face, then the top ledge, then the bottom edge where it meets the floor.
Step 4: How to Clean Baseboards Without Bending
Bending and crouching is what makes this job feel harder than it is. You don't need to kneel to clean baseboards well.
Wrap a microfiber cloth around the end of a broom handle or a flat cleaning tool. Secure it with a rubber band. Now you can wipe the trim from a standing position.
For a spray-and-wipe method, mist the cloth-wrapped tool and run it along the baseboard in one pass. Use your foot to guide the tool into corners if needed. This method won't give the same pressure as hand wiping, so save it for light dusting between deeper cleans.
Step 5: How to Remove Scuff Marks From Baseboards
Most scuff marks lift with gentle pressure and the right tool, not force. Try these in order, from gentlest to strongest:
- A damp microfiber cloth with mild soap
- A cotton swab dipped in soapy water for small marks
- A melamine sponge, rubbed lightly, for stubborn marks
- A dab of baking soda paste for set-in scuffs
Test any new method on a hidden spot first. Scrub too hard and you'll take the paint off with the mark. If a scuff won't budge after two gentle attempts, touch-up paint is the safer fix.
Step 6: Reach Inside Corners, Edges, and Tight Spaces
Inside corners collect the most dirt and get cleaned the least. A cloth alone can't get into that seam where two baseboards meet, and the order you attack the corner in matters as much as the tool.
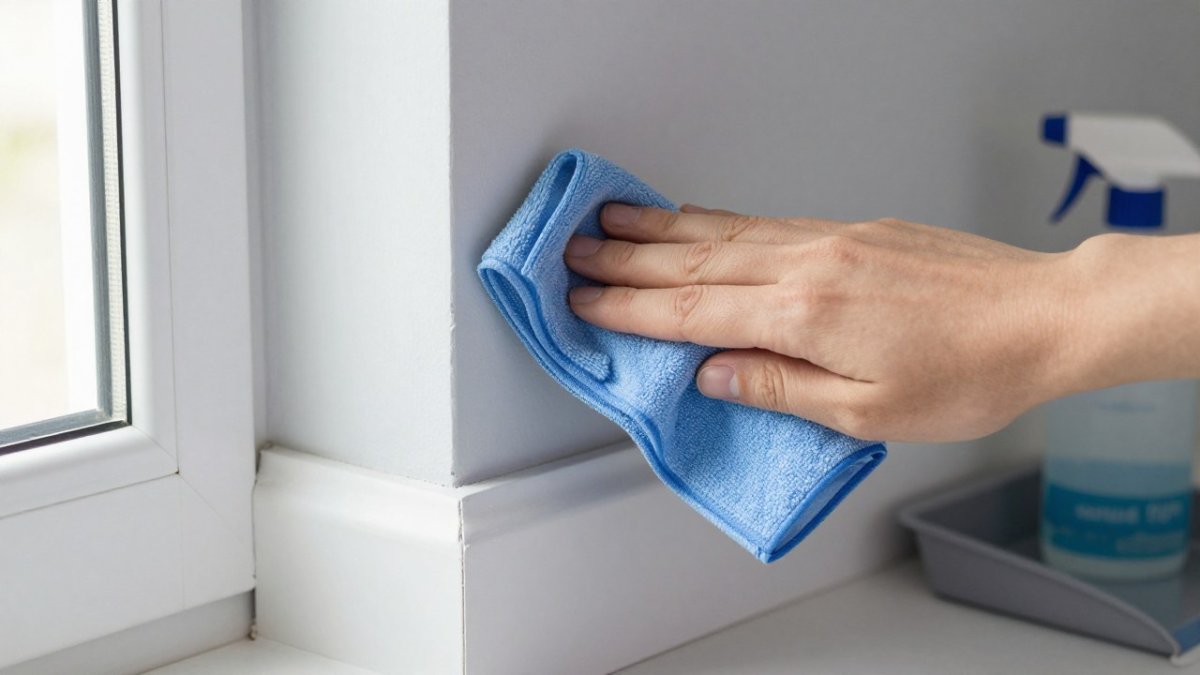
Work every corner in this sequence: dry first, then damp, then dry again, then inspect.
- Loosen the dry debris. Run a vacuum crevice tool or a dry cotton swab down the seam before any moisture touches it. Pet hair and grit bind together when wet and turn into a paste that smears.
- Wipe the flat faces into the corner. Clean each wall of the corner from the open side toward the seam so you push dirt out rather than into the point.
- Finish the seam itself. A cotton swab dipped in your mild solution, wrung so it isn't dripping, cleans the last few millimeters where baseboard meets wall. Change swabs often; a dirty swab just redistributes grime.
- Dry the seam. Press a dry microfiber cloth into the corner with a finger or the blunt end of a tool. Trapped moisture in a seam is what causes paint to bubble and peel later.
Match the tool to the geometry:
- Inside corners (two baseboards meeting): Cotton swabs for the seam, then a cloth-wrapped flat tool for the faces. A toothbrush works if the trim is textured, but keep the bristles off painted flat stock, where they can scratch.
- Outside corners (a protruding corner): These take knocks and scuffs. Wrap a cloth around the corner and pinch it, wiping down both faces in one motion. A melamine sponge, rubbed lightly, lifts the gray scuff line that builds on outside corners.
- Narrow gaps behind furniture and under appliances: A wooden chopstick wrapped in cloth reaches where fingers won't. A flat cleaning tool slid under the appliance catches the dust mat that forms there.
- Textured or grooved trim: An old toothbrush is the right call, working along the groove rather than across it, then wiping dry with a cloth.
For heavy buildup, soften before you scrub. Hold a damp cloth against sticky residue or grease for a minute, then wipe. Scrubbing dry residue just drives it deeper into the seam.
Watch out: don't flood a corner with spray. Moisture wicks into the seam between baseboard and drywall and shows up later as swollen MDF, peeling paint, or a stain on the wall above. Spray the cloth, not the corner, and dry every seam you wet.
Match the tool to the shape of the space you're cleaning.
| Space | Tool | How to use it |
|---|---|---|
| Inside corners | Cotton swabs, then cloth-wrapped flat tool | Swab the seam, cloth the faces |
| Outside corners | Cloth, or melamine sponge for scuffs | Wrap and pinch, wipe both faces |
| Narrow gaps behind furniture | Wooden chopstick wrapped in cloth | Reach where fingers won't |
| Under appliances | Flat cleaning tool | Slide under to catch the dust mat |
| Textured or grooved trim | Old toothbrush | Work along the groove, then wipe dry |
Step 7: Cleaning Baseboards Before Moving Out
Move-out cleaning is where baseboards matter most. A landlord or property manager walks the unit and looks at exactly the spots most tenants skip: baseboards, corners, and edges.
Clean baseboards before moving out in this order: dust first, then wash with your mild solution, then dry, then check corners with a cotton swab. Pay extra attention to scuffs near doorways and pet hair along the floor line.
If you'd rather hand this off, our team handles move-in and move-out cleaning for landlords and property managers. For a full room-by-room plan, use this move out cleaning checklist. And when you're ready to book, you can contact our team for a quote.
Baseboards and corners are the first thing a sharp eye notices and the last thing most people clean. If your schedule is tight or you need a rental inspection-ready, Pro Edge Cleaners can take it off your list. We're locally owned, we specialize in the overlooked edges and corners, and we use environmentally safe products. We aim for consistent, dependable service with personal oversight by the owner.
Frequently Asked Questions
What is the easiest way to clean baseboards?
Work top to bottom in small sections. Run a vacuum brush or dry microfiber cloth along the trim to lift loose dust, then wipe with a damp cloth dipped in a mild dish soap and water mixture. Finish with a dry cloth so moisture does not sit on the paint. This two-pass method removes dust before it turns into muddy streaks, which is why it takes less scrubbing than going straight in with a wet rag.
How do you clean baseboards without bending down?
Attach a microfiber cloth to a long-handled flat tool or the end of a broom using a rubber band, then spray the cloth rather than the wall. A spray bottle with an angled nozzle lets you reach the trim line while standing. Work in sections of about one metre so you keep gentle pressure and do not miss spots. This approach also helps anyone with back or knee issues clean baseboards comfortably.
Can you use vinegar to clean baseboards?
A diluted white vinegar and water solution works on many painted surfaces, but test it on a hidden patch first. Vinegar is acidic and can dull some finishes or damage water-based paint if left sitting. For scuffs and greasy marks, a mild dish soap solution is usually safer. Avoid abrasive cleaners and melamine sponges on glossy or dark paint, since they can leave a visible dull patch.
How often should baseboards and corners be cleaned?
Dust baseboards every two to four weeks and do a damp wipe every two to three months in most homes. Households with pets, allergy sufferers, or high-traffic entries may need it monthly. In rentals, a full baseboard and corner clean should happen before every move-out and after every turnover. Regular dry dusting prevents the heavy buildup that makes scuff marks and grime harder to remove later.