 Ultimate guide
Move Out Cleaning Checklist 2026: Room-by-Room Guide
Last Updated: November 1, 2026
Quick Summary
A move out cleaning checklist in 2026 works best when it is organized room by room and tackled in a fixed order, so nothing gets cleaned twice and nothing gets missed. Start roughly two weeks before handover, match your cleaning to your lease clause, and do floors last in every room.
- The kitchen takes 2-3 hours and the range hood filter is often missed.
- Start your move out cleaning checklist roughly two weeks before handover.
- Clean the oven, refrigerator, and cabinets one week out while the kitchen is still usable.
- Benchmark against the condition report you signed at move-in, not a generic checklist.
- Photograph every room after cleaning with timestamps to settle deposit disagreements.
Table of Contents
- Move-Out Cleaning Checklist by Room
- Move-Out Cleaning Timeline: What to Do and When
- Rental Move-Out Cleaning Checklist: Lease Standards and Deposit Rules
- Appliances, Cabinets, and the Details Renters Miss
- Floors, Windows, and Final Touches for Inspection Day
- Professional Move-Out Cleaning Benefits Worth Paying For
- Photo Documentation and Your Inspection Handover
- Book Your Move-Out Clean Before Handover Day
- Frequently Asked Questions
Move-Out Cleaning Checklist by Room
A move out cleaning checklist in 2026 works best when it is organized room by room and tackled in a fixed order, so nothing gets cleaned twice and nothing gets missed.
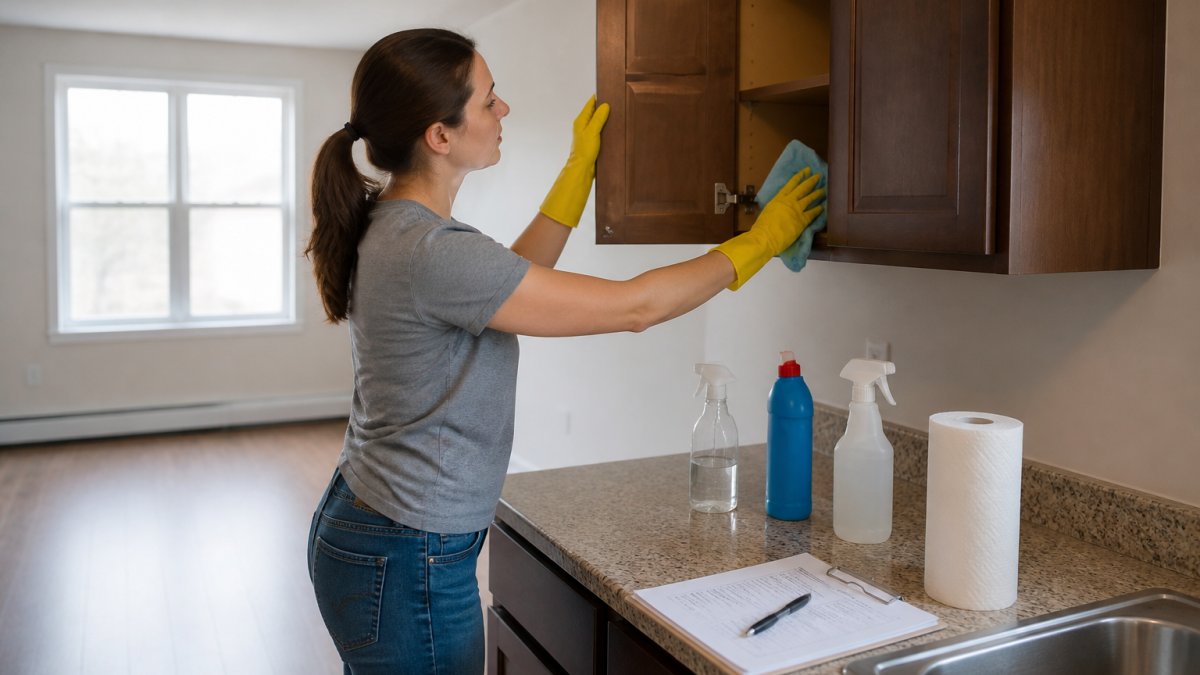
Use the table below as your master sequence, then work through the printable task list that follows. Print it, tape it to the inside of the front door, and check boxes as you go.
| Room | Core Tasks | Time Estimate | Often Missed |
|---|---|---|---|
| Kitchen | Degrease oven, empty and wipe fridge, scrub sink and faucet | 2-3 hours | Range hood filter, cabinet interiors |
| Bathroom | Descale tub and shower, disinfect toilet, clean grout | 1-2 hours | Exhaust fan cover, behind toilet base |
| Living room and bedroom | Wipe walls and baseboards, clean closets, remove nails | 1-2 hours | Inside closet shelves, light fixtures |
| Floors and windows | Vacuum, mop, clean tracks and coverings | 1-2 hours | Window tracks, vent covers |
Printable Room-by-Room Task List
Copy this list into a notes app or print it. Each box is a task an inspector can see.
Kitchen
- Oven: remove racks, apply degreaser, scrub cavity walls, door glass, and racks; rinse and dry
- Range hood: remove and soak the filter, wipe the hood exterior and underside
- Refrigerator: empty fully, remove shelves and drawers, wash in sink, wipe door gaskets, interior walls, and the top of the unit
- Freezer: same as refrigerator, including the ice bin
- Microwave: wipe interior, turntable, and exterior; clean the vent grille
- Sink and faucet: scrub with a non-scratch pad, descale the faucet aerator, wipe the basin rim
Bathroom
- Tub and shower: descale walls, floor, and glass; scrub grout with a stiff brush
- Toilet: disinfect tank, bowl, seat, lid, base, and the floor behind the base
- Vanity and sink: wipe interior and exterior of cabinets, descale the faucet
- Mirror: streak-free wipe, including edges
- Exhaust fan cover: remove, dust, wash, and reinstall
- Walls and baseboards: wipe down, spot-clean marks
- Floor: sweep, then mop last
Living Room and Bedroom
- Ceiling fixtures and corners: dust from a step stool, not a chair
- Walls: wipe scuffs with a damp melamine sponge
- Baseboards: wipe top edge and face
- Closets: wipe shelves and rods, vacuum closet floor
- Drawers: empty, wipe interior, vacuum runners
- Nails and adhesive hooks: remove, patch small holes if your lease requires it
- Built-ins and shelving: dust and wipe
Floors and Windows (whole unit)
- Window glass: clean inside and out where safely reachable
- Window tracks: brush and vacuum
- Blinds and coverings: wipe or vacuum
- Vent covers: remove, wash, reinstall
- Hard floors: sweep, vacuum, then mop last
Kitchen
Start with the oven, since it takes the longest. Apply a degreaser, let it sit, then scrub the racks, door glass, and the cavity walls. Empty the refrigerator completely, pull the shelves, wash them in the sink, and wipe every surface including the door gaskets. Scrub the sink and faucet with a non-scratch pad, then wipe cabinet fronts and interiors.
Bathroom
Descale the tub, shower walls, and glass, then scrub grout with a stiff brush. Disinfect the toilet fully, including the base and the floor behind it. Wipe mirrors, vanity, and cabinet interiors, and do not forget the exhaust fan cover, which collects dust nobody checks until an inspection.
Living Room and Bedroom
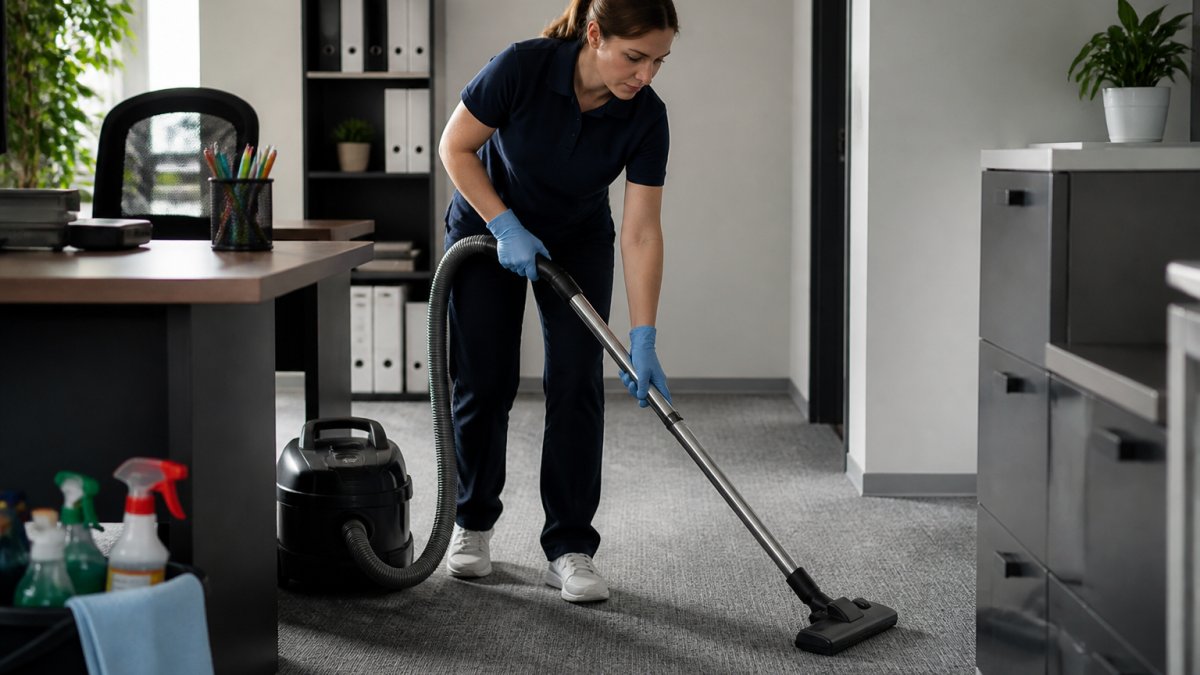
Work top to bottom: dust ceiling fixtures and corners, wipe walls and baseboards, then clean inside closets and drawers. Remove nails and adhesive hooks, and patch small holes if your lease requires it. Vacuum carpets and under furniture, and wipe down any built-ins or shelving.
Supplies to Have on Hand
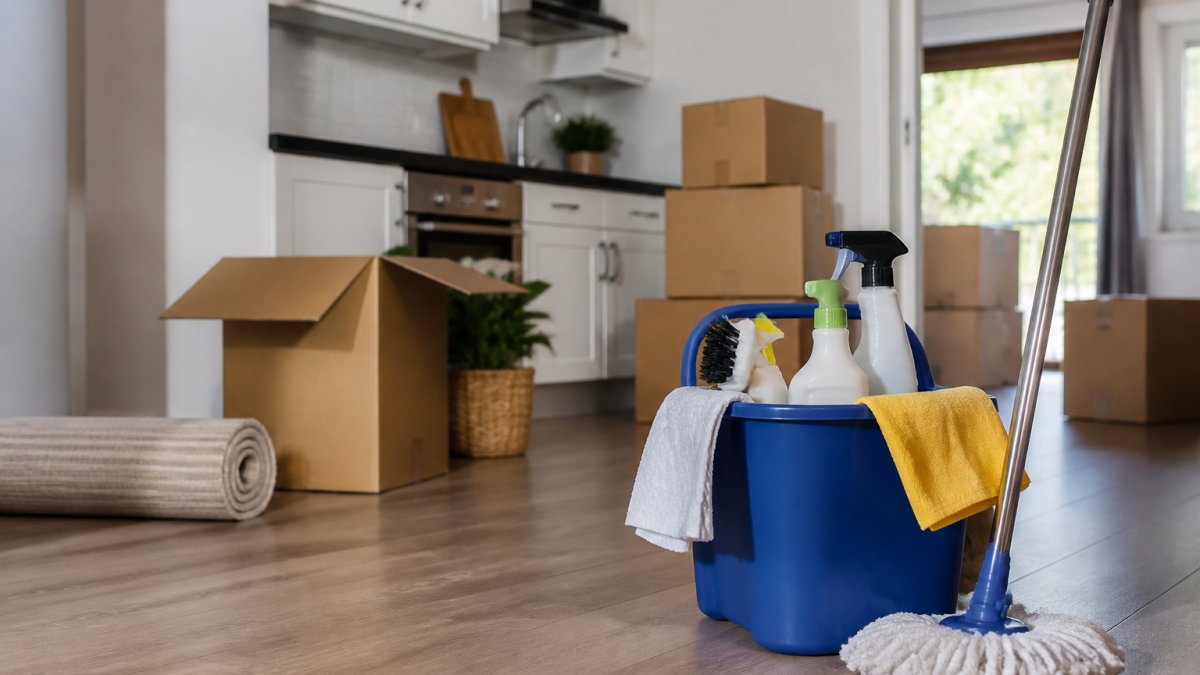
A move-out clean goes faster with the right kit. The following covers a typical unit:
- Degreaser (oven and range hood)
- Descaler (bathroom fixtures and glass)
- Non-scratch pads and a stiff grout brush
- Microfiber cloths (color-coded by room helps)
- Melamine sponges for scuffs
- Vacuum with crevice and upholstery attachments
- Mop and bucket
Move-Out Cleaning Timeline: What to Do and When
Timing matters more than effort. A move out cleaning checklist in 2026 should start roughly two weeks before handover, so deep-clean tasks are not competing with packing and moving day.
- Two weeks out: declutter, book any professional help, and confirm your lease's cleaning standard.
- One week out: clean the oven, refrigerator, and cabinets while the kitchen is still usable.
- Three days out: clean bathrooms, walls, baseboards, and windows.
- Day before handover: vacuum and mop floors last, after everything else is done.
- Handover day: final walkthrough, photos, and a last wipe of high-touch surfaces.
Floors always come last. Mopping before the oven is cleaned means you will mop twice.
Rental Move-Out Cleaning Checklist: Lease Standards and Deposit Rules
Your lease, not a generic checklist, sets the legal standard. Read the cleaning clause before you start and match it task for task. Most agreements ask for the unit to be returned in the same condition as move-in, allowing for normal wear and tear.
Watch out: assuming "broom clean" is enough when your lease specifies professional cleaning or a receipt. That single mismatch is one of the most common reasons deposits get held back.
Compare Against Your Move-In Condition Report
The most reliable benchmark is the condition report you signed at move-in. Pull it out and walk the unit room by room before you clean, not after. For each item noted as damaged, worn, or already dirty, mark it on your copy so you do not spend time fixing something you are not responsible for, and so you can point to it at inspection.
Document Condition With Photos and Notes
Photograph every room after cleaning, in good light, with timestamps on. Capture inside the oven, refrigerator, cabinets, closets, and bathroom fixtures, plus the floors and window tracks. At handover, walk the unit with the landlord, compare against your move-in photos, and note agreed condition in writing. This record protects both sides and settles most disagreements before they start.
A simple handover packet works well:
- Dated move-in photos (or a note that none were provided)
- Dated move-out photos, room by room
- Receipts for supplies or hired cleaning
- A one-page summary of any pre-existing damage
- Key return confirmation (signed or emailed)
Know Which Rules Apply
Provincial residential tenancy rules govern deposit disputes and inspection requirements, and they differ across the country. Check the residential tenancy guidance for your province rather than relying on what a friend was told. The general pattern most renters encounter is that a landlord must give notice before an inspection, provide an itemized list of any deductions, and return the deposit within a set period, but the specifics and timelines vary, so confirm the rule for your province.
Appliances, Cabinets, and the Details Renters Miss
The details decide inspections. Pull the refrigerator out and clean behind it. Wipe the top of the fridge, the range hood, and the inside of the microwave. Vacuum the air-conditioning filter and wipe vent covers. Remove every drawer, vacuum the runners, and wipe the interiors. Clean the tops of cabinets and the inside of closets, including shelves and rods. Replace burnt-out light bulbs, and dust light fixtures and switch plates.
Floors, Windows, and Final Touches for Inspection Day
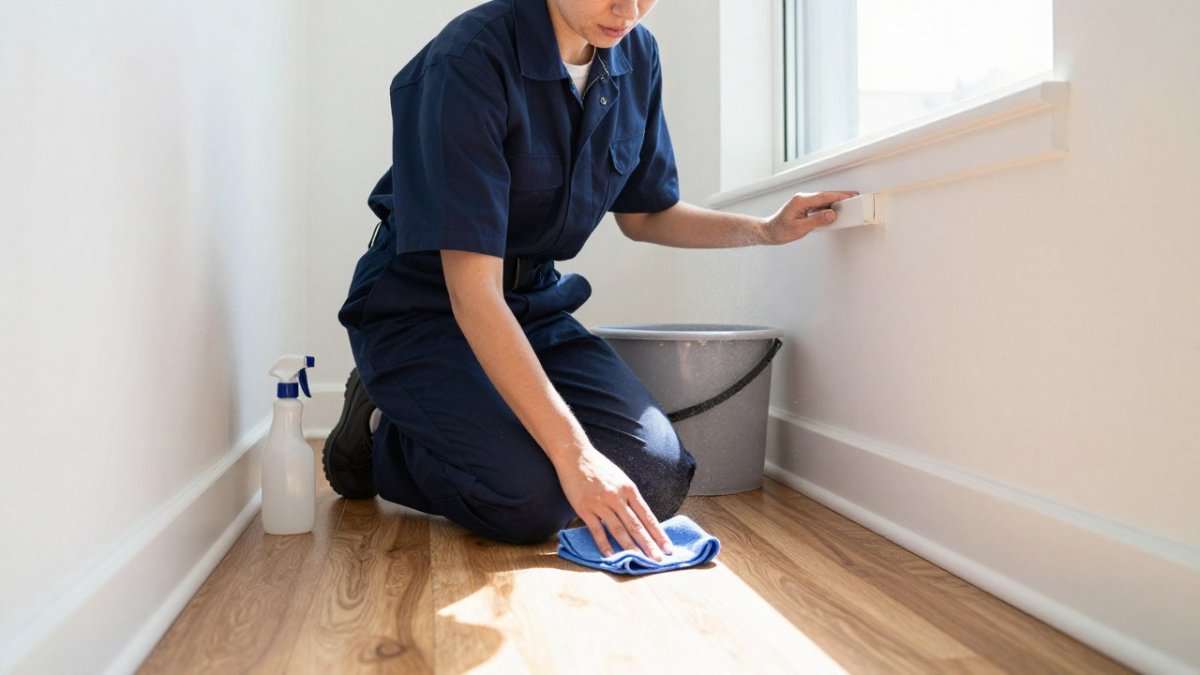
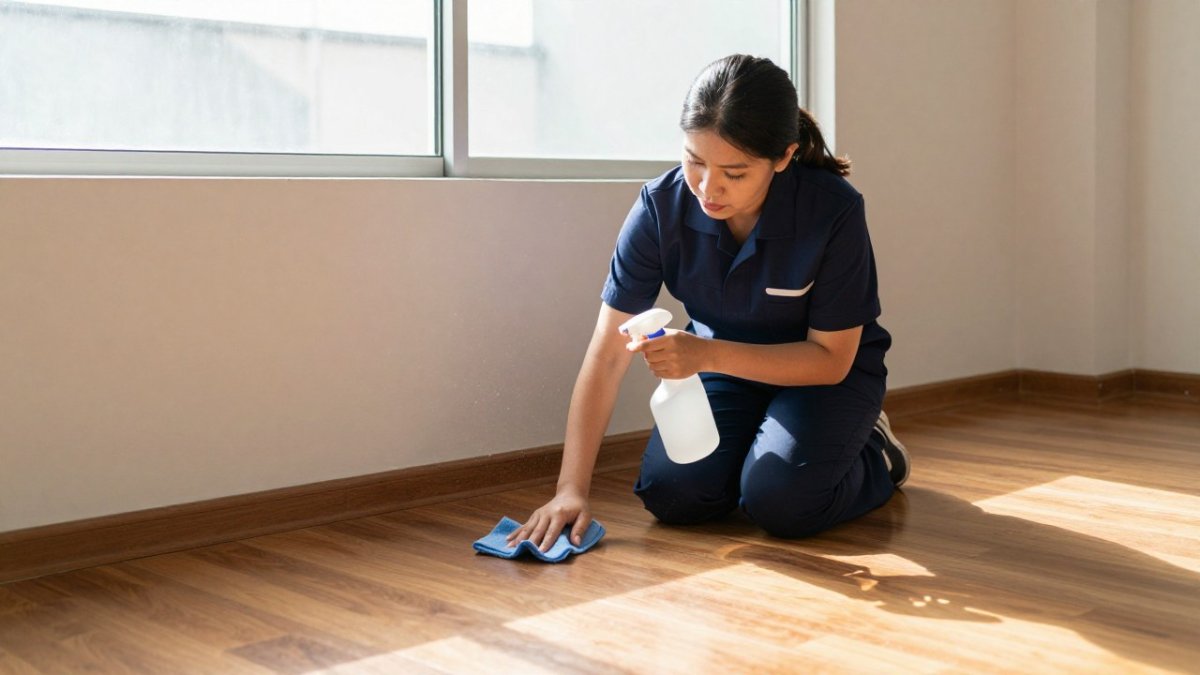
Clean windows inside and out where you can reach safely, then clear the tracks with a brush and vacuum. Wipe blinds and window coverings, or vacuum curtains. Sweep, vacuum, and mop every floor, including closets and behind doors. Finish with baseboards, door frames, and light switches. Do a slow walkthrough room by room with your checklist, looking up at ceilings and down at corners, before the landlord arrives.
Professional Move-Out Cleaning Benefits Worth Paying For
Professional move-out cleaning can be worth considering when timing or a lease standard matters.
- Time back: you focus on packing and moving, not scrubbing.
- Consistency: the same standard every time, which landlords and hosts value.
Pricing depends on property size, condition, and timing, so check transparent cleaning prices before you decide. If you are weighing the trade-offs, our guide to professional move out cleaning benefits covers what is included and when to book. Ready to hand over a spotless unit? Make it spotless with a move-out clean built for landlords and property managers.
Photo Documentation and Your Inspection Handover
Photograph every room after cleaning, in good light, with timestamps on. Capture inside the oven, refrigerator, cabinets, closets, and bathroom fixtures, plus the floors and window tracks. At handover, walk the unit with the landlord, compare against your move-in photos, and note agreed condition in writing. This record protects both sides and settles most disagreements before they start.
Book Your Move-Out Clean Before Handover Day
Move-out dates are fixed, so plan ahead and confirm what a clean includes in writing. For the scheduling steps, see our step-by-step guide to booking a move-out clean. You can contact Pro Edge Cleaners for a quote.
Frequently Asked Questions
What should be included in a move out cleaning checklist?
A complete move out cleaning checklist covers every room plus the details renters skip. In the kitchen, that means the oven, refrigerator, range hood, cabinets inside and out, countertops, sink, and faucet. In the bathroom, the toilet, bathtub, shower, mirrors, and grout. Across the unit, add floors, baseboards, windows and tracks, vent covers, light fixtures, walls, and closet shelves. Finish with a photo record of each room so you can show the condition at handover.
How clean does a rental need to be when you move out?
It needs to match the condition it was in when you moved in, minus normal wear and tear. Most leases in the province require the unit returned in a clean state, and the landlord's inspection compares the two. Focus on grease, soap scum, dust, and marks rather than perfection. If your lease sets specific standards, follow those first, and keep receipts if you hire a professional move-out clean.
How long does move-out cleaning take?
The time a move-out clean takes depends on the size and condition of the unit. The oven, refrigerator, window tracks, and baseboards often take the most time.
Should I hire a professional move-out cleaner?
Hiring a professional move-out cleaner makes sense when your timeline is tight, the unit has heavy buildup, or your lease requires a professional standard. Pricing depends on size and condition, so request a quote for your unit.
Do I need to clean carpets when I move out?
Check your lease first. Many leases require professional carpet cleaning at move-out, and some landlords ask for a receipt. If carpets are not specified, vacuum thoroughly, treat stains, and note any pre-existing damage in your move-in photos. Steam cleaning is often worth it in pet households or high-traffic rentals because carpet condition is one of the most common reasons a deposit gets reduced.
How can I document the condition of a rental after cleaning?
Photograph every room after cleaning, in good light, with wide shots and close-ups of appliances, floors, windows, and walls. Include a timestamp and keep the files until your deposit is settled. A short walkthrough video adds context.
Handover day should not be a scramble. Pro Edge Cleaners brings eight years of experience, eco-friendly products, owner oversight, and a focus on the edges and corners that inspections target, so your unit is ready when the landlord walks in. Get started with Pro Edge Cleaners and hand over a spotless property with confidence.